Running Contiki‐NG in Renode
Renode is a virtual development tool for multinode embedded networks (both wired and wireless) enabling a scalable workflow for building effective, tested and secure IoT systems, created by Antmicro. It can easily be used to run, debug and test your Contiki-NG applications without any changes in the code itself, as if you were running on real hardware - but with more possibilities.
Renode has been used by various entities including Antmicro and RISE SICS for Contiki-NG development.
Renode is readily available in the Contiki-NG Docker image. If you prefer a native install of Renode, follow the instructions from the Renode project README.
Starting Renode
Running from the Contiki-NG tree
To start an example that is provided directly in the Contiki-NG tree, go to
/examples/rpl-udp and run make renode TARGET=cc2538dk. This will
run the rpl-udp.resc script in Renode with the binaries built from the sources
of the rpl-udp example. The script instantiates one virtual server node and one
virtual client node which run the respective binaries.
If you want to supply a different script, just use:
$ make renode TARGET=cc2538dk SCRIPT=<SCRIPT_NAME>
Running Renode from an arbitrary location
To start Renode just use the renode command.
You will see “the Monitor” - the CLI for Renode.
To load the demo mentioned in the previous section run:
i @/path/to/contiki-ng/examples/rpl-udp/rpl-udp.resc
This will load the default rpl-udp Contiki-NG demo binaries, provided they have been built.
In Renode, the “@” sign represents a path to a file.
To change one of the binaries edit the line in the script file where the binary is set:
$bin=@path_to_your_binary
This goes before the line that includes the script for the particular machine (which you also might want to change):
i $ORIGIN/cc2538-node.resc
($ORIGIN is the directory where the current script is located)
Please keep in mind that changing the $bin variable will affect all
subsequent machines. However, you can change it many times in one
script.
Using Renode
When starting Renode with rpl-udp.resc, first the Renode terminal window will open, followed by one window for each node in the simulation:
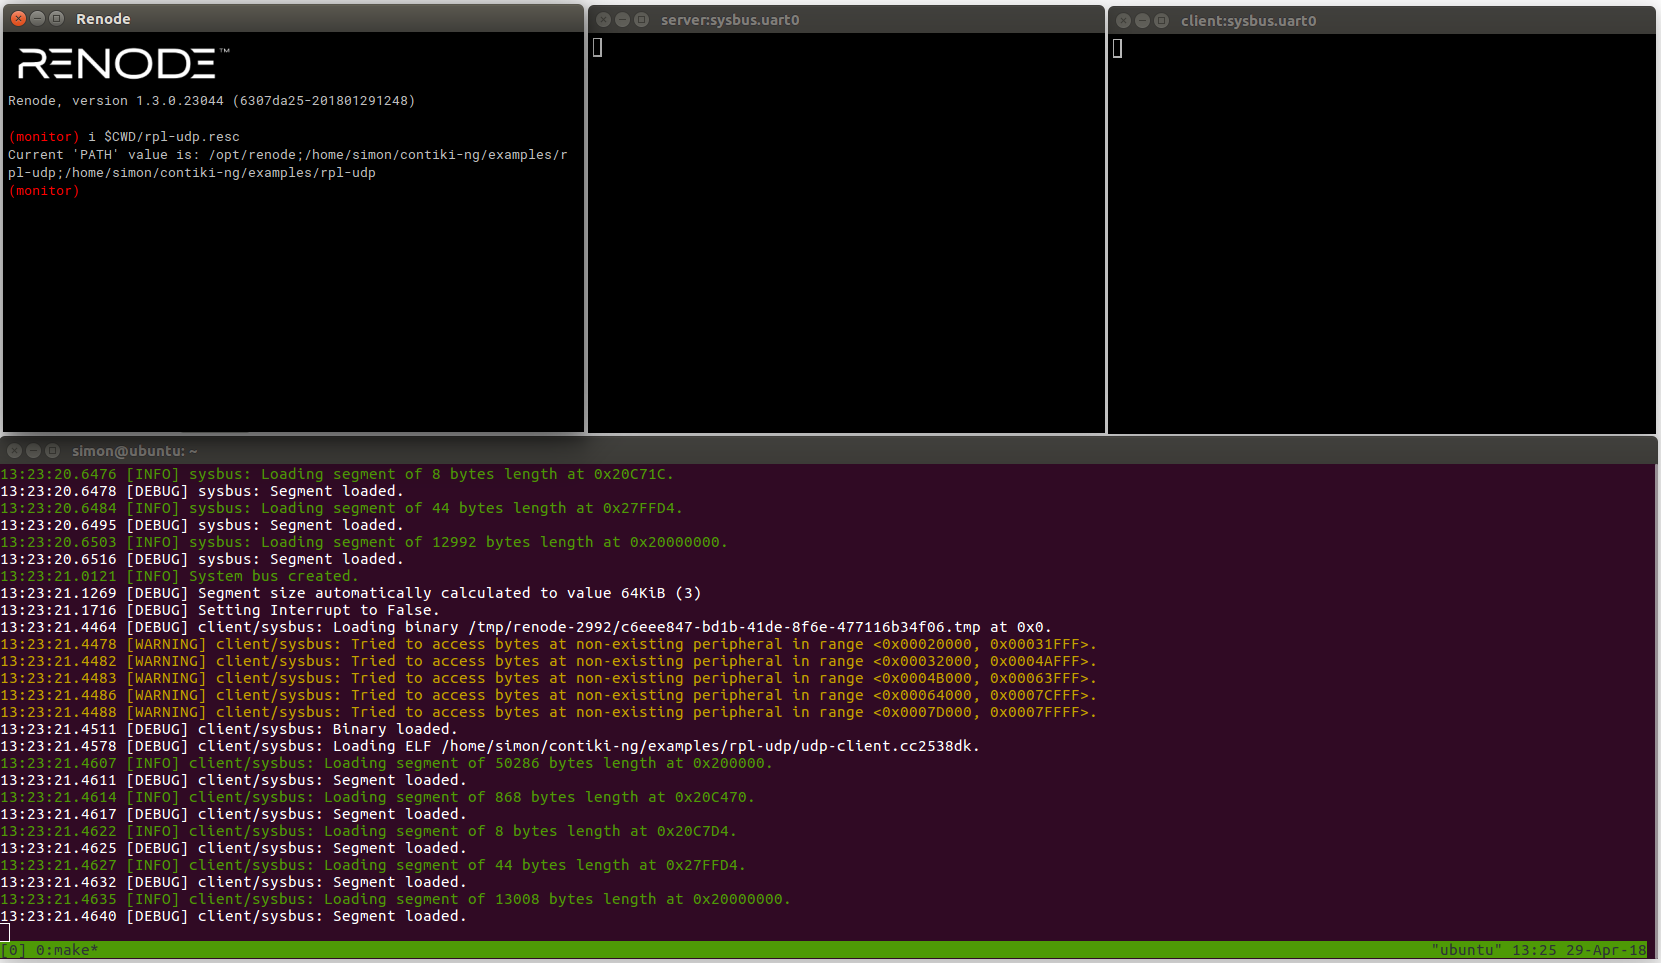
From the Renode terminal, start the simulation by running start (or s – all commands have a shorthand).
You can pause the simulation with pause, or quit with quit.
The simulation is now running, and the node output confirms transmission and reception of UDP traffic over RPL:
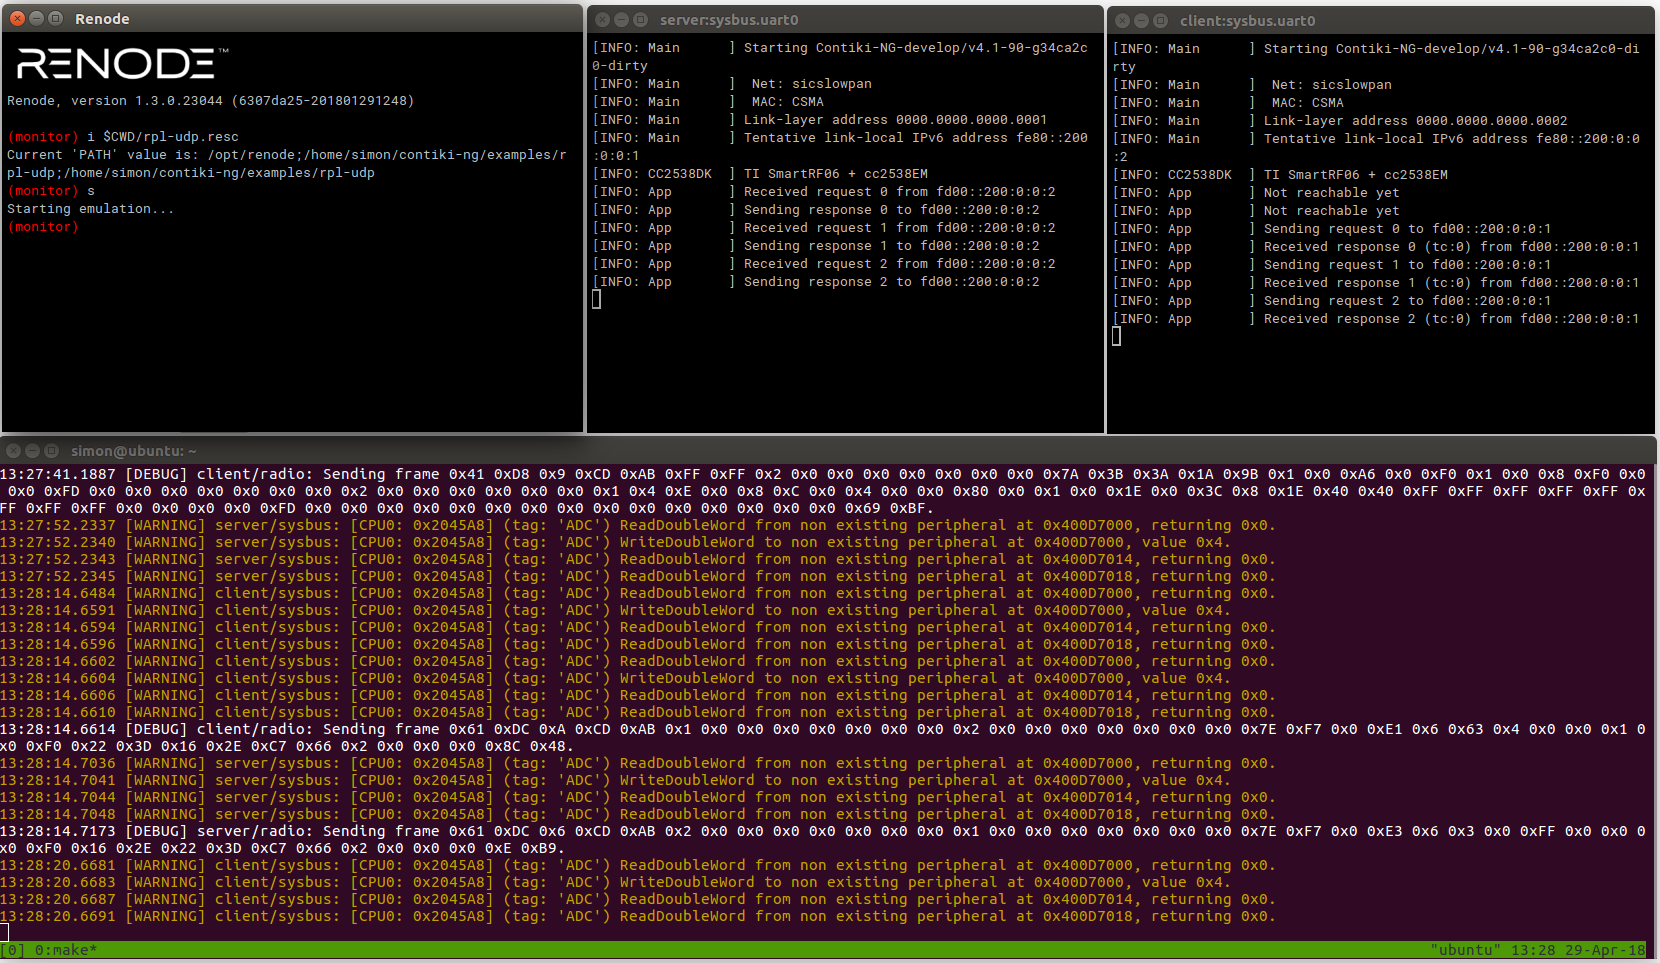
Depending on your setup, the simulation might be slow – try decreasing START_INTERVAL and SEND_INTERVAL to e.g. 5s in rpl-udp.c for quicker feedback.
To check simulation time, first set you context to one of the virtual machines, e.g. machine 0 with mach set 0. Then, use machine ElapsedVirtualTime and machine ElapsedHostTime.
Note: mach clear returns to the main Renode monitor.
You can also inspect the wireless traffic with Wireshark. Try emulation LogWirelessTraffic. Note: on Linux, your user must be in group wireshark. A Wireshark window will open, showing all traffic in the simulation. Note: on OS-X the wireshark feature is not currently available.
For more information, visit the Renode documentation.